
First, gather your materials. Don't forget to boil your eggs. A lot of our cracked, I think because we had medium sized eggs, but I did some research and it looks like that's ok (but I don't make any guarantees). Some people crack theirs on purpose after they boil them for a-well-cracked look, so I figured it didn't matter when the cracks come.
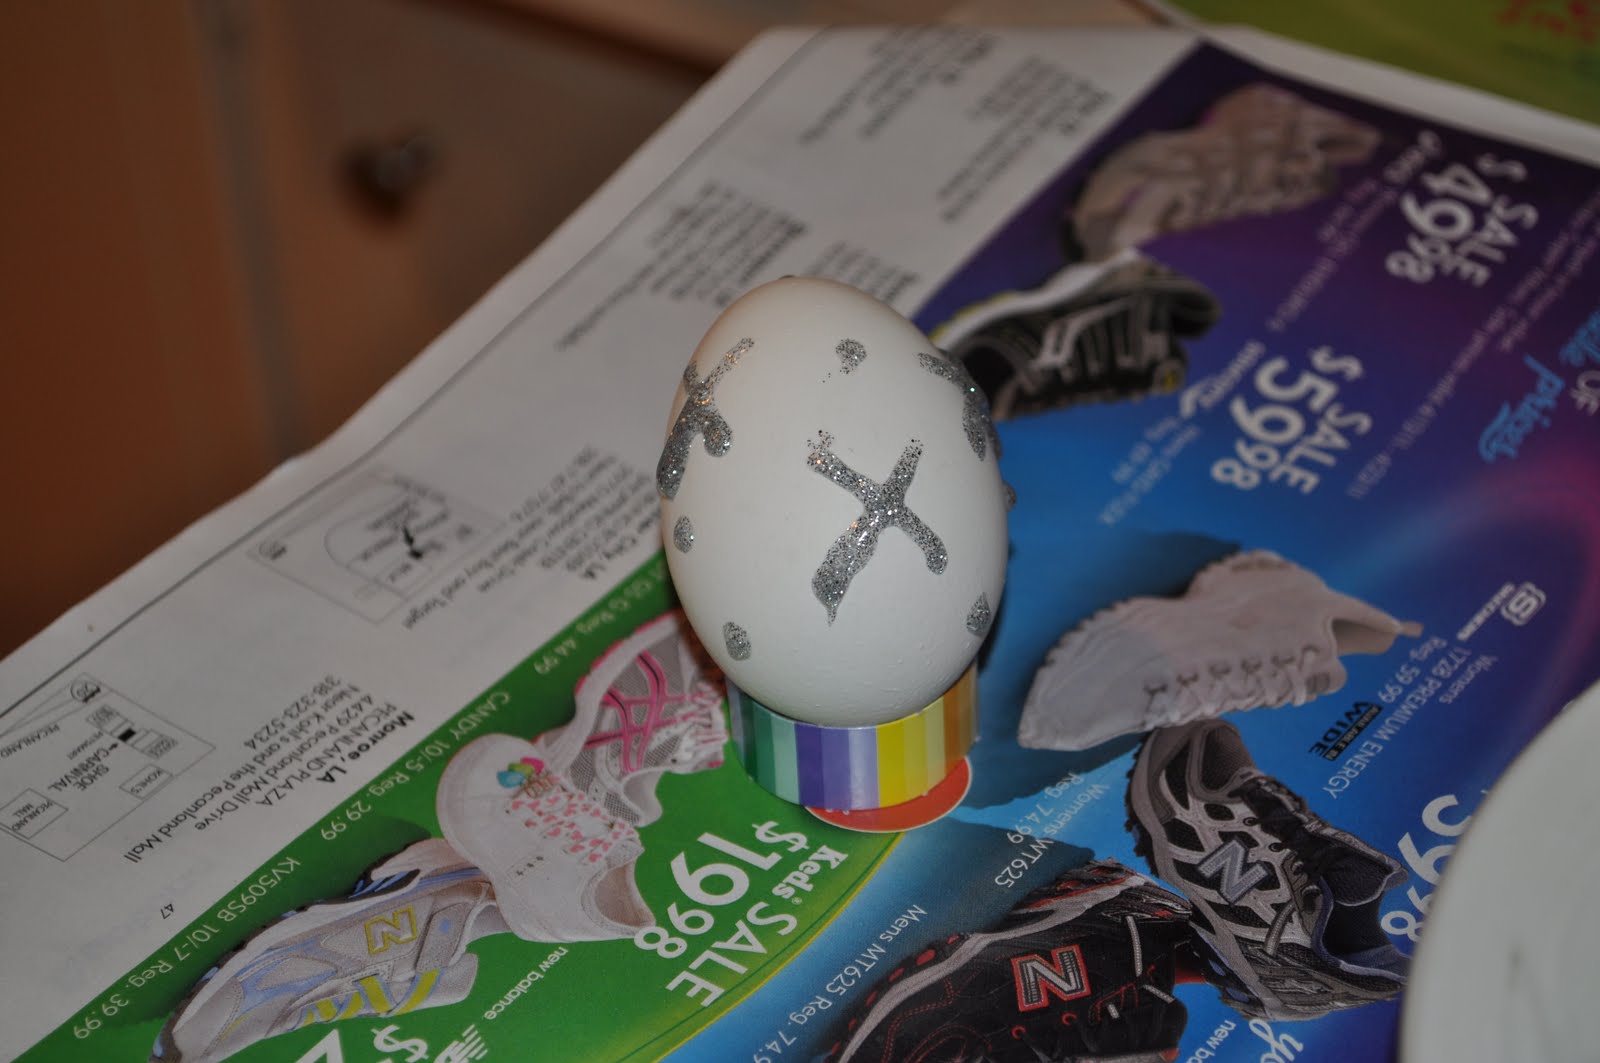 Then, decide if you want some reversed dying opportunities. I tried glitter glue, regular glue (well, craft glue) and stickers. I will show you the results later. You can also wait to add these things after the dyeing is done.
 Next, get a good helper...and a cute one is even better. Don't forget the apron!
 Then, make your dye according to the instructions on the package. I separated it into individual styrofoam cups so that I could put them in the fridge and get a little more color. A little more work that I used to do when I was little, but we will see if the color is better. I also used vinegar, which is supposed to make the colors more vibrant.
 Here we are adding glitter after a short dip in the coloring.
Then, all little cute helpers need a snack break, also know as snack basket in our house, for their hard work.After a little while, probably could have used longer, here are the results!

The glue worked well at keeping off the dye, but it would have been better if we would have waited for it to dry!

The crayon did AWESOME! Probably my favorite but I forgot about it til the end and only got it on one!
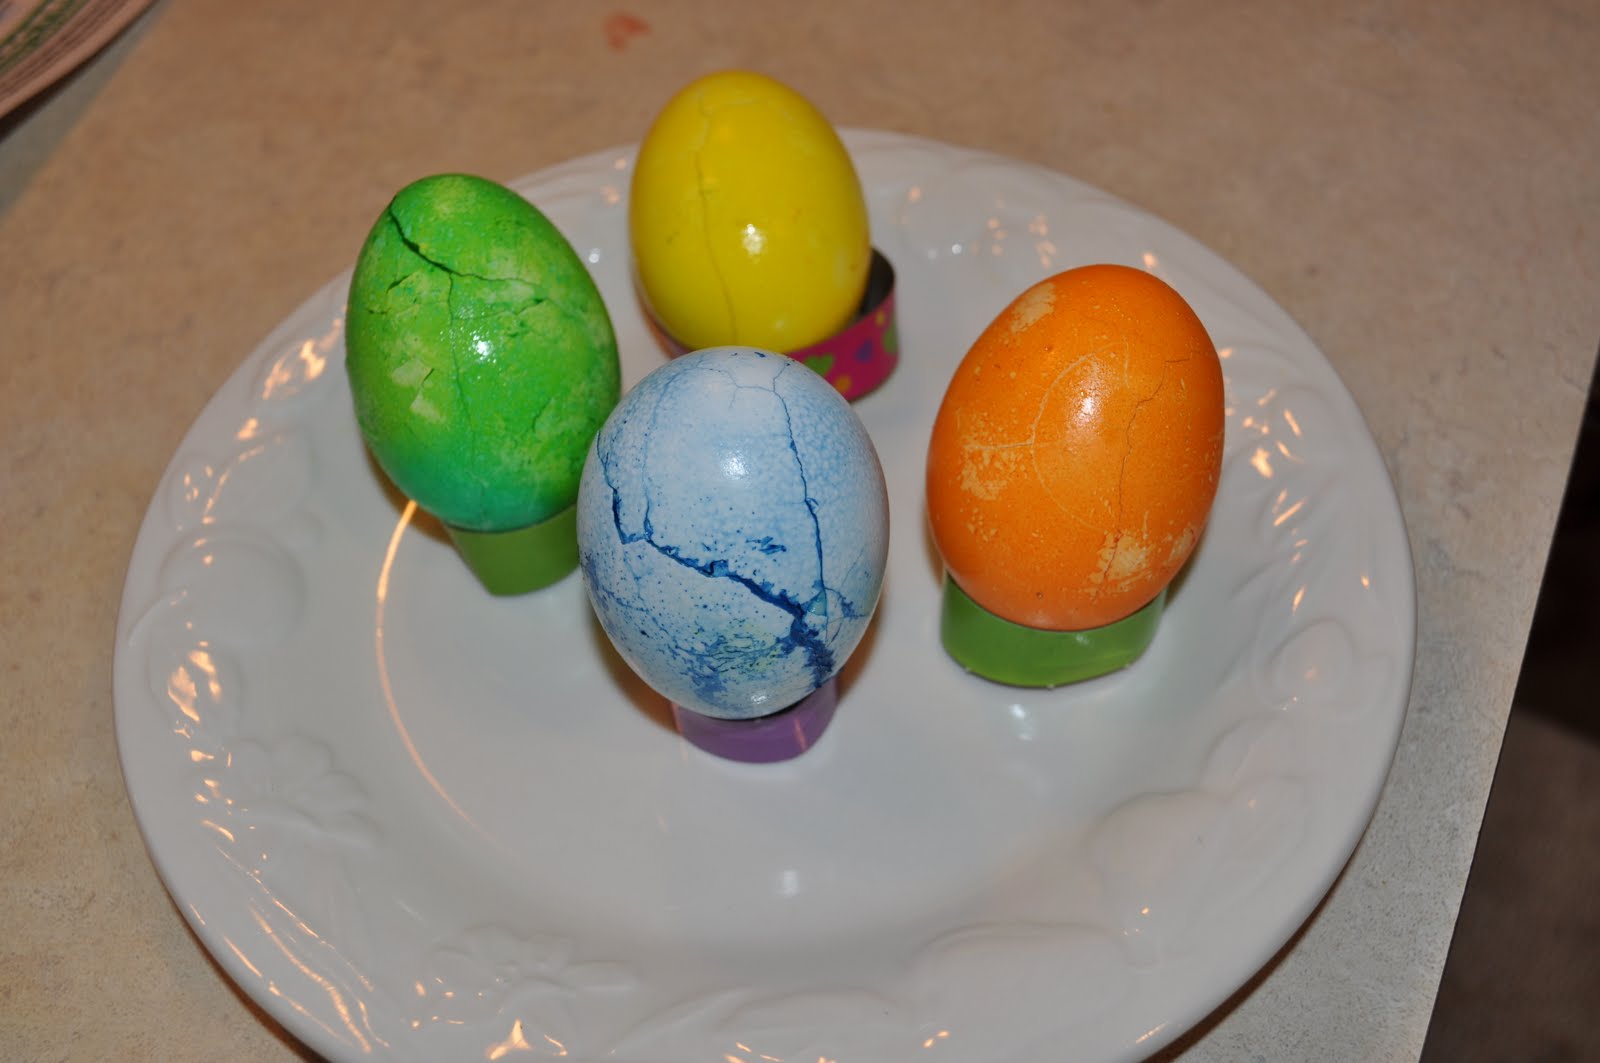 Here are some cracked ones.
Here are the glittered ones. The glitter came off, but still kept it from dyeing. Probably did better than regular glue because it was act
 ually completely dry. Where the stickers stayed on, it looks good, but they didn't coat exceptionally well, so that might not be best.

Here is the final results. We were kind of bored of this project by the end, so we didn't add any more stickers or anything, but maybe tomorrow we will get some more energy!
And luckily, Annie slept through it all, even this posting. But if anyone can tell me a better way to add pics, I sure would be happy!
Next up: Empty Tomb Cookies on Easter Day (you have to start Sat. night). Go here: http://faithfulprovisions.com/2011/04/11/empty-tomb-cookies-project-tutorial/ if you want to make them too!


